
Beginner's Roadmap to Learning Electrical Work: Where to Start in 2025
TMTodd McFarland · July 31, 2026 · 5 min read
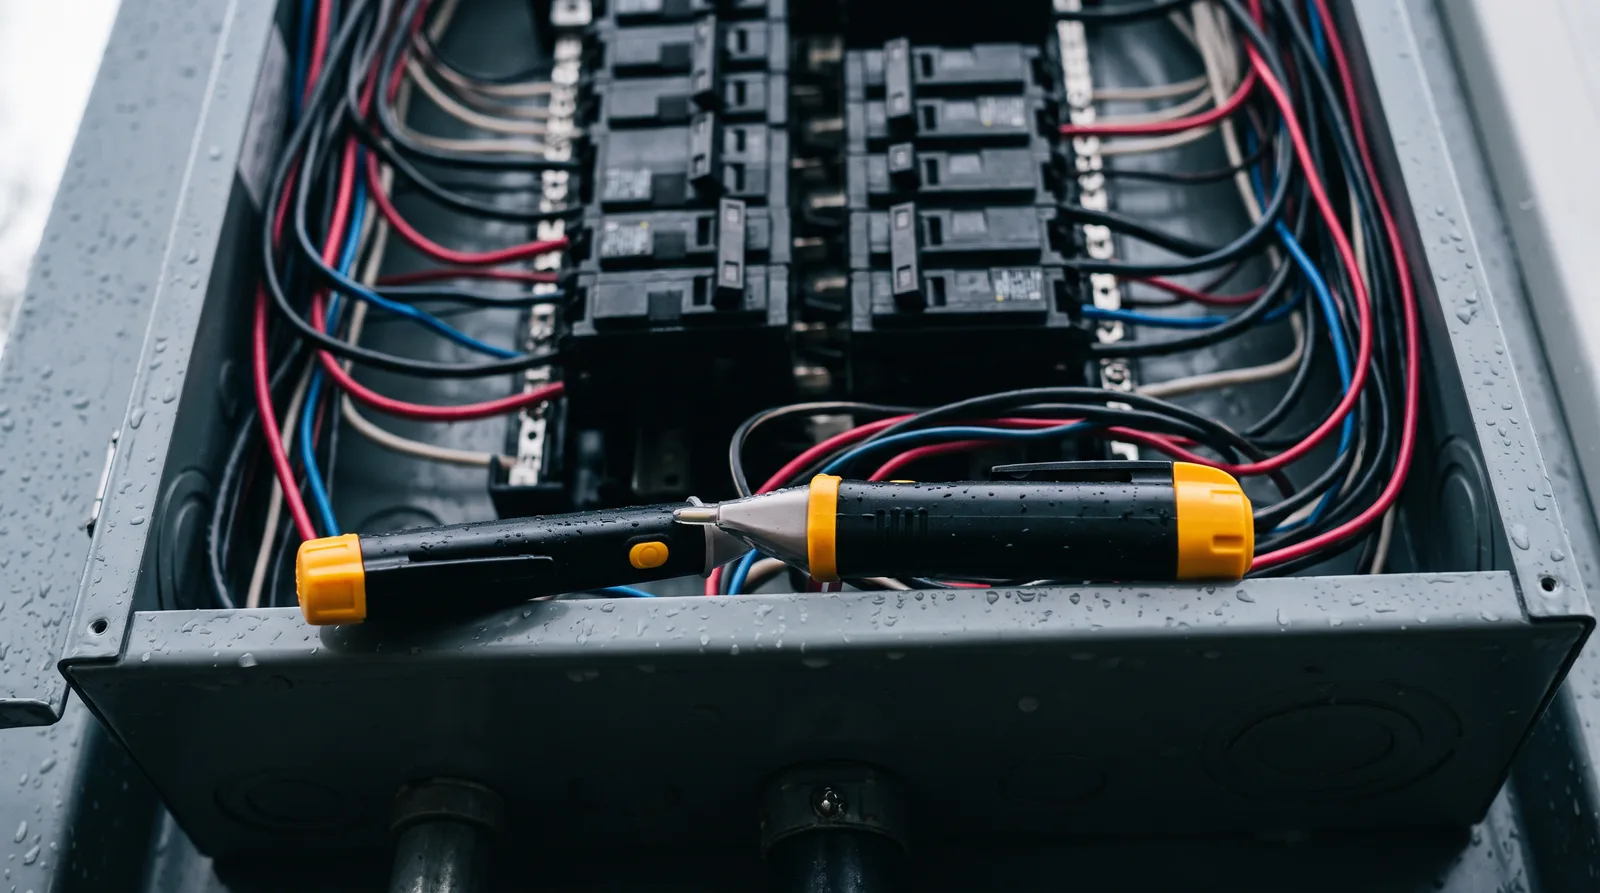
Learning electrical work can feel like standing at the edge of a massive maze. There's voltage, amperage, breaker panels, conduit, blueprints, code books — and nobody hands you a map. That's exactly why I put this roadmap together. Follow these stages in order and you'll build a foundation that actually sticks, without wasting time jumping between random YouTube videos and forum rabbit holes.
Stage 1: Understand How Electricity Behaves
Before you touch a single wire, you need to understand what electricity is and how it moves. You don't need a physics degree — you need three concepts burned into your brain:
- Voltage is the pressure pushing electricity through a circuit (measured in volts, V).
- Current is the flow of electrons (measured in amps, A).
- Resistance is what slows that flow down (measured in ohms, Ω).
These three are tied together by Ohm's Law: V = I × R. Memorize it. Everything you'll ever do in residential electrical traces back to this relationship. Spend a week here. Draw simple circuits on paper. Trace how current flows from the source, through a load (like a light bulb), and back. This mental model is your compass for everything that follows.
Stage 2: Learn to Work Safely
Safety isn't a chapter you skim — it's a discipline you build habits around. The two rules that matter most as a beginner:
- Always verify power is off with a non-contact voltage tester before touching any wire. Never trust a breaker label alone.
- Treat every wire as live until your tester confirms otherwise.
Get comfortable with your personal protective equipment: safety glasses, insulated gloves rated for your working voltage, and rubber-soled boots. Learn how to lock out a breaker using a breaker lockout hasp and a padlock — this is standard practice on job sites and a habit worth building at home from day one.
Stage 3: Master the Basic Devices
Now you're ready to get hands-on. Start with the three devices you'll install hundreds of times in residential work:
- Outlets (receptacles) — Learn the difference between a 15-amp and 20-amp outlet, why the slot shapes differ, and when GFCI protection is required (bathrooms, kitchens, garages, outdoors).
- Switches — Wire a single-pole switch first, then graduate to 3-way switches, which trip up almost every beginner.
- Light fixtures — Practice making clean wire connections: proper strip length, tight wire nuts, and no copper showing outside the connector.
Buy a cheap practice board or grab a spare electrical box from a hardware store and wire these devices repeatedly until your hands know the motions. Speed and neatness come with repetition.
Stage 4: Understand the Panel
The electrical panel is the brain of every home's electrical system. At this stage, you're learning to read a panel before you ever work inside one. Identify the main breaker, understand how double-pole breakers supply 240V circuits (for dryers, ranges, water heaters), and learn how to calculate a basic load.
One critical concept: the difference between a service entrance and a subpanel. In a subpanel, neutrals and grounds are separated onto different bars. In the main panel, they bond together. Mixing this up is one of the most common — and most dangerous — mistakes beginners make.
Stage 5: Read a Blueprint
Electrical blueprints look intimidating, but residential plans use a small set of symbols you can learn in an afternoon. The most important ones to recognize:
- Circle with lines = light fixture
- Circle with "S" = switch (number of lines tells you single-pole vs. 3-way)
- Duplex outlet symbol on a wall line
- Dashed lines connecting switches to fixtures (these show which switch controls which light)
Practice by finding a free sample residential plan online and tracing every circuit by hand. Ask yourself: where does this circuit start at the panel? What does it feed? Where does it end? This exercise trains your eye faster than any flashcard.
Stage 6: Learn the NEC and Local Code Requirements
The National Electrical Code (NEC) is updated every three years, and most US jurisdictions adopt it — sometimes with local amendments. You don't need to read it cover to cover. Focus on the chapters that govern residential work: Article 210 (branch circuits), Article 230 (services), and Article 250 (grounding and bonding).
Your local building department's website will tell you which NEC edition your jurisdiction has adopted and what local amendments apply. Download that information and keep it handy. Inspectors don't grade on effort — they grade on compliance.
Stage 7: Prepare for and Pass Your Inspection
A residential electrical inspection is your proof of competence. The inspector will check that your work matches the permit, that all connections are accessible, boxes are properly secured, wire fills aren't exceeded, and GFCI/AFCI protection is installed where required.
The single best way to prepare: do a self-inspection before the official one. Walk every circuit with your checklist. Are all wire nuts tight? Are all boxes covered? Is the panel schedule filled out and legible? Catching your own mistakes is the whole game.
This roadmap works because it builds each skill on top of the last. Circuits before devices. Devices before panels. Panels before blueprints. Blueprints before inspections. If you're ready to go deeper into any of these stages with hands-on demos, wiring diagrams, and real inspection checklists, that's exactly what my course Master Electrical is built to do.
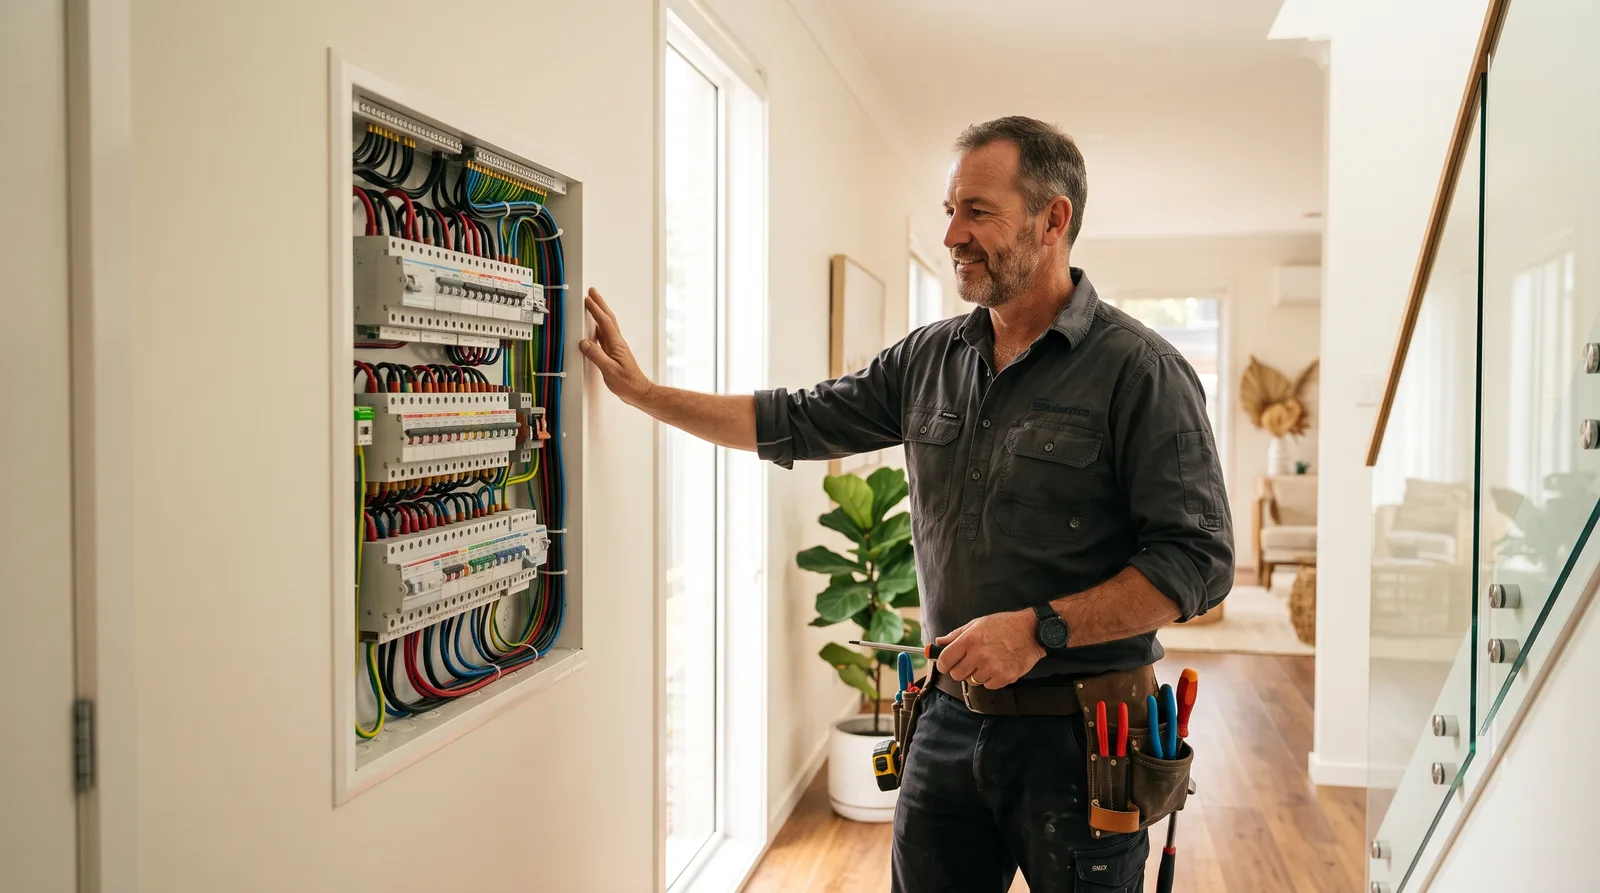
Want to go deeper than a blog post?
Master Electrical
Learn the practical electrical skills that professionals use every day — from safely wiring outlets and panels to reading blueprints and passing inspections. No prior experience required.
Start learning — $49/mo