
How to Wire an Outlet the Right Way (Without Getting Shocked)
TMTodd McFarland · July 31, 2026 · 4 min read
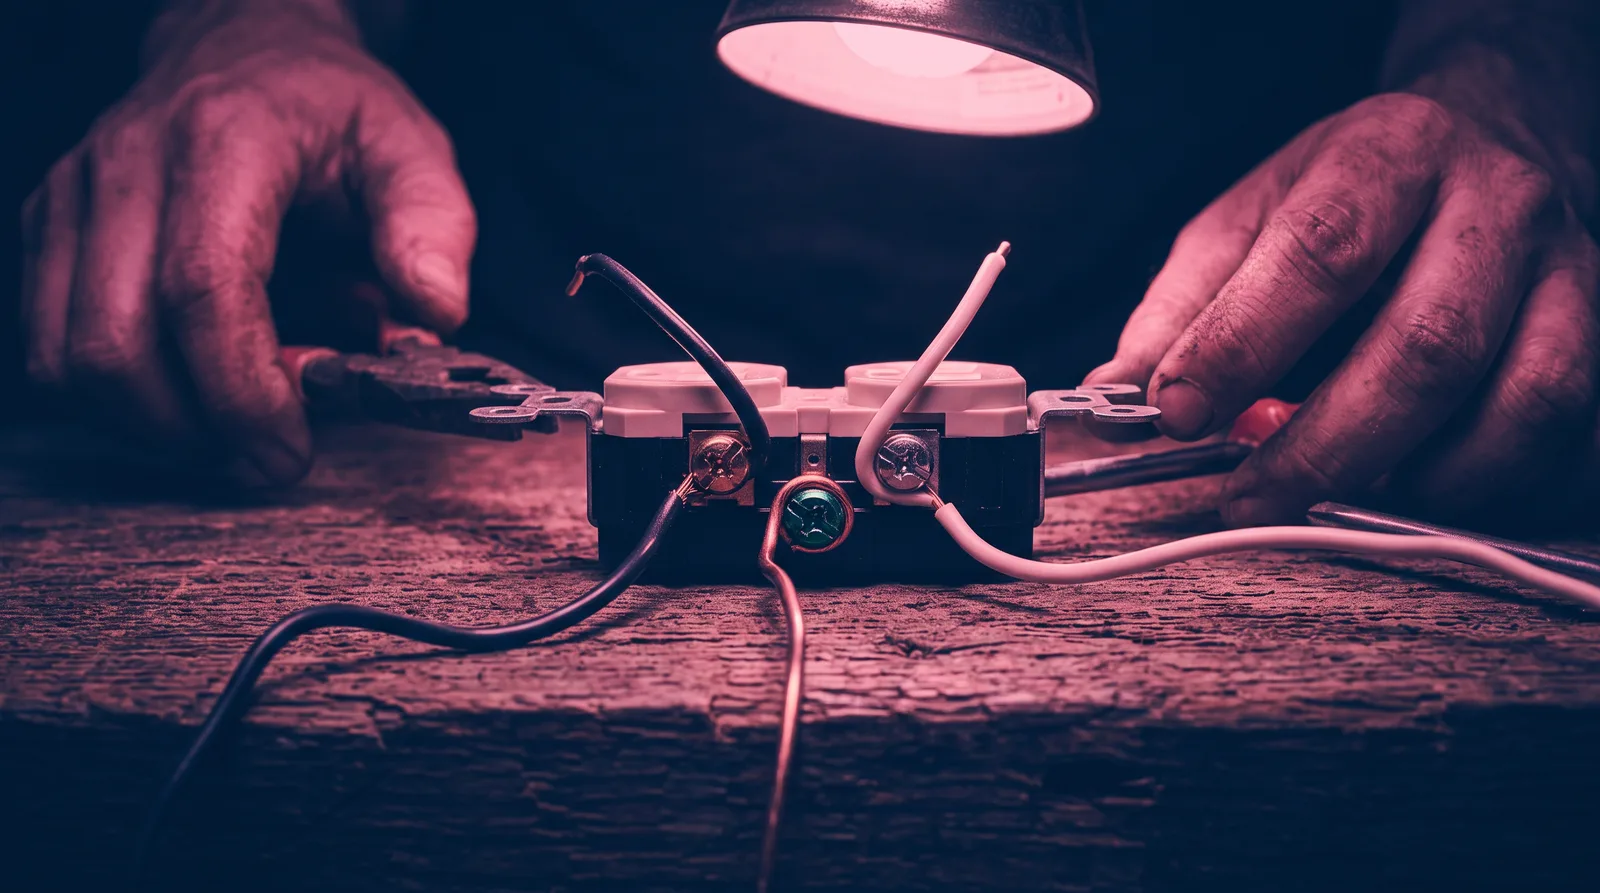
Wiring an outlet is one of the first real-world tasks you'll tackle in electrical work, and it's a great place to build confidence. The procedure is straightforward, but there's no room for guessing — the wrong connection can trip a breaker, fail an inspection, or worse. Follow these steps exactly and you'll do it right the first time.
Kill the Power First — and Verify It
Before you touch a single wire, go to the panel and switch off the breaker that controls the circuit you're working on. Then come back to the outlet box and use a non-contact voltage tester to confirm the power is actually dead. Don't skip the tester. Breakers are sometimes mislabeled, and a $20 tester is the cheapest insurance you'll ever buy.
Know Your Three Wires
A standard 120V residential circuit in the US runs three conductors to every outlet box:
- Black (hot) — carries the voltage. This is the wire that can shock you if the circuit is live.
- White (neutral) — completes the circuit back to the panel. It carries current too, so respect it.
- Bare copper or green (ground) — your safety net. It gives fault current a low-resistance path back to the panel so the breaker trips instead of you becoming the path.
If you're working in older wiring and find only two wires — a black and a white with no ground — stop and note it. You have options (a GFCI outlet can be used in that situation with proper labeling), but that's a separate conversation.
Strip the Wires Correctly
Use a wire stripper set to the 12 AWG or 14 AWG mark, depending on your circuit. Most 15-amp circuits use 14 AWG; 20-amp circuits use 12 AWG. Strip about ¾ inch of insulation — just enough to wrap around the terminal screw. Too little and the connection is weak. Too much and bare copper sticks out where it shouldn't.
Connect to the Right Terminals
A standard duplex outlet has three sets of screws:
- Brass screws (right side of outlet) → connect the black (hot) wire here. Brass = hot. Say it until it's automatic.
- Silver screws (left side of outlet) → connect the white (neutral) wire here.
- Green screw (bottom) → connect the bare copper or green ground wire here.
To make the connection, bend the stripped end of the wire into a clockwise "J" hook using needle-nose pliers. Hook it around the screw so that tightening the screw pulls the wire into the connection, not away from it. Snug the screw down firmly — you should not be able to pull the wire free by hand.
Pro tip: The outlet also has "backstab" holes in the back. Do not use them. Push-in connections are faster but they're loose, they fail, and inspectors know to look for them. Always use the screw terminals.
Grounding Is Non-Negotiable
The ground wire is not optional. It doesn't carry current under normal conditions, so it's tempting to think of it as unimportant. It isn't. If the hot wire inside an appliance ever contacts its metal housing, the ground wire is what routes that fault current back to the panel fast enough to trip the breaker. Without it, that appliance is energized and waiting for someone to touch it.
Attach the ground wire to the green screw on the outlet and also to the metal box if the box is metal — use a short pigtail of green or bare wire to connect both. This is called a equipment grounding conductor connection, and most inspectors will check for it.
Fold, Set, and Test
Once all three connections are made, fold the wires carefully back into the box in a neat accordion pattern — don't force them. Mount the outlet with the screws provided, attach the cover plate, then go restore power at the panel.
Grab your non-contact tester again and verify the outlet is live. Then plug in a simple lamp or outlet tester (the kind with three indicator lights — under $10 at any hardware store). It will tell you instantly whether the hot, neutral, and ground are all correctly wired. A correct wiring reading means you're ready for inspection.
What Inspectors Actually Look For
When an inspector checks your outlet, they're looking at a short list: correct wire-to-terminal connections, no nicked insulation, a secured outlet in a proper box, and a cover plate. Wire everything as described above, keep your connections neat, and there's nothing to worry about.
This is the foundation. Once you're comfortable here, panels, three-way switches, and GFCI circuits all use the same core logic — you just build on top of it. If you want a step-by-step system that takes you from basics like this all the way through blueprint reading and inspection prep, that's exactly what Master Electrical is built around.
Want to go deeper than a blog post?
Master Electrical
Learn the practical electrical skills that professionals use every day — from safely wiring outlets and panels to reading blueprints and passing inspections. No prior experience required.
Start learning — $49/mo